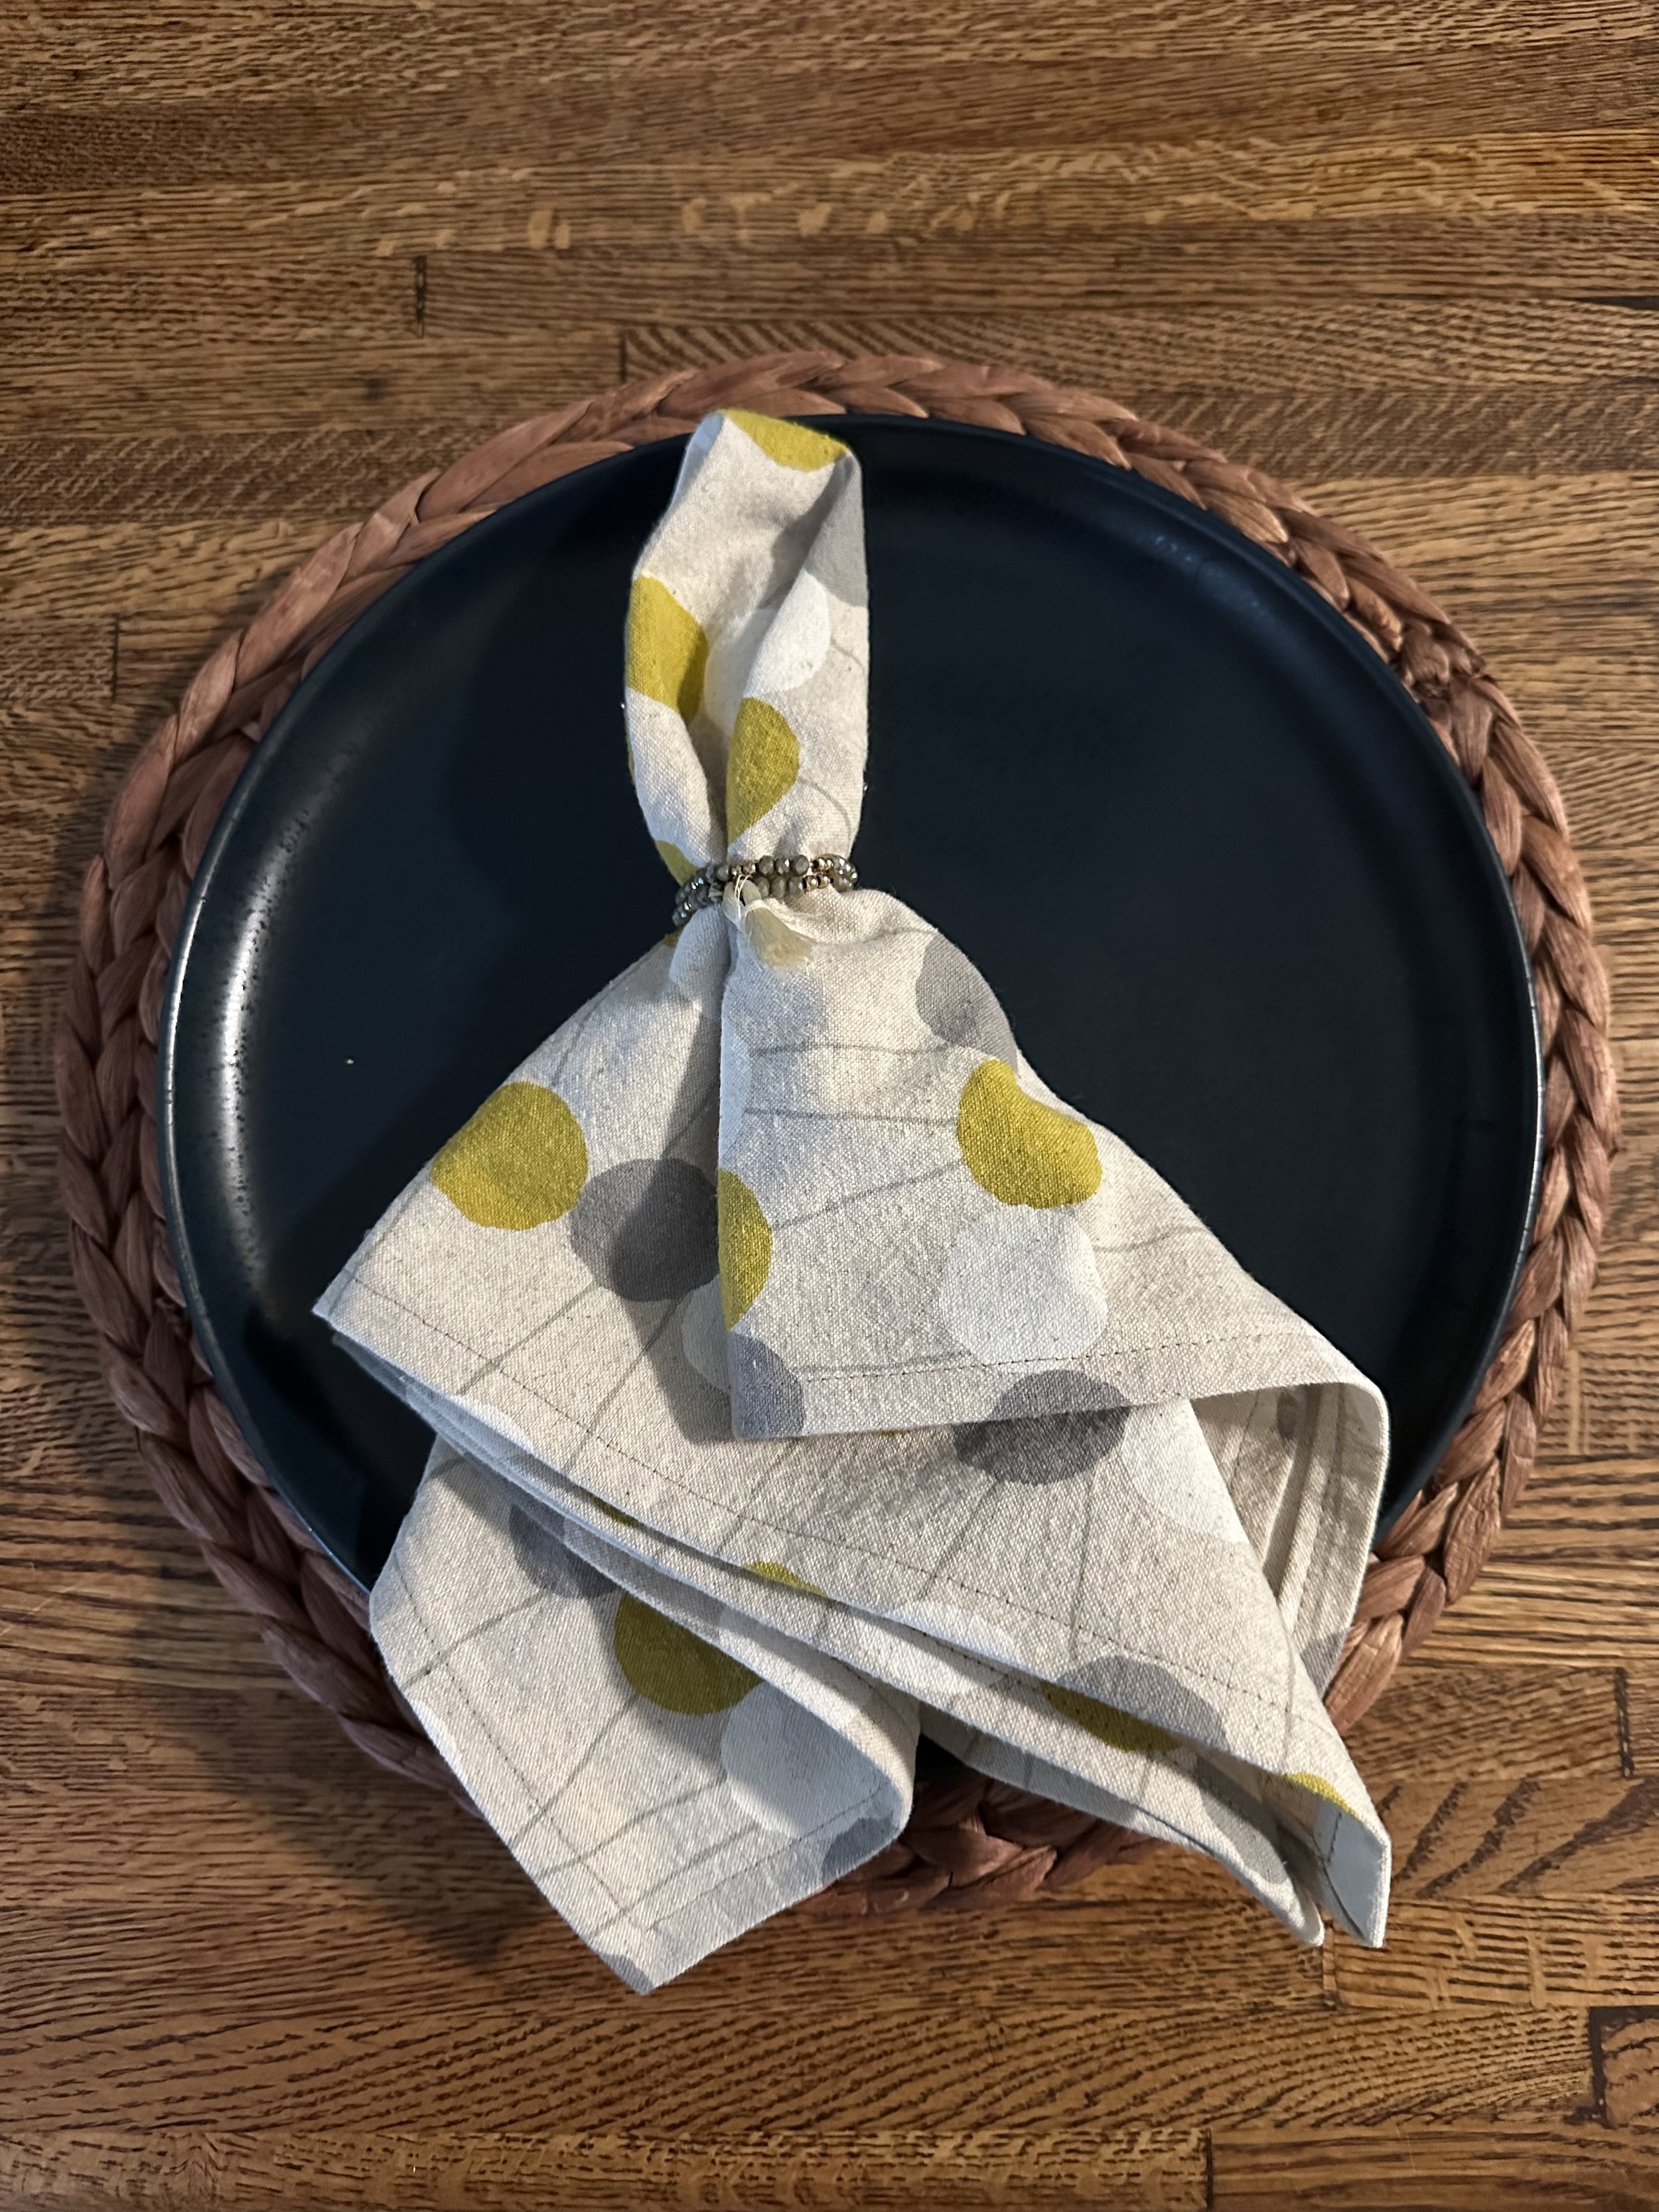
Easy Homemade Linen Dinner Napkins
In an effort to create less waste, I’ve transitioned to cloth napkins. And I have to admit, I love it.
I bought my first plain set from Crate & Barrel or Pottery Barn, one of those where everything looks the same. I’ve received a few prettier sets as gifts to up my collection (GREAT gift idea, by the way). Last Christmas I cut down a too-big Target tablecloth into a smaller tablecloth and some coordinating napkins. They’re a little wonky, but fun nonetheless. I’ve since upped my game.
Last Christmas I gifted a set of homemade napkins, and yes I am just now making them in October, 10 months later. Hope that makes you feel better if your projects all take a little longer than you want.
For these napkins, I wanted a medium weight linen fabric. I love the texture of it, which you don’t get from plain weave cotton. An online search led me to Stonemountain & Daughter Fabrics. I happened to be on a Northern CA roadtrip in August and decided to take a mini-detour to Berkeley to feel the fabric and shop in-person. They have an amazing selection and I found these 3 linen fabrics from Japan that are amazingly lush and high quality.
If you’re working towards a zero-waste life, or just want to make your own pretty napkins, I’ve included easy directions below.
Step 1: Pick your fabric. I’d recommend something medium weight with a lovely texture, but you can use anything washable.
Step 2: Pre-wash your fabric to pre-shrink. Then iron it to make it easier to work with. I, personally, never iron my napkins once they’re made, but I also like the lived-in look.
Step 3: Cut out 20” x 20” squares. Depending on your hem, this will result in a napkin around 18” x 18”. That’s a healthy size napkin that never feels stingy.
Step 4: Stitch ¼” - ⅜” around all 4 sides. You can skip this step, but I find it helps create an even hem in half the time and effort.
Step 5: Double roll the sides and press. I didn’t need to pin, but if your fabric has more heft, you might need to.
Step 6: Unfold and trim the corners. Refold to get a nicely mitered corner. Pin to hold in place. I chose not to stitch the diagonal of the mitered corner and was happy with the look. Sewer’s choice.
Step 7: Stitch around all 4 sides then press to set.
And that’s it! They’re now ready to use or gift!
Hope you’re enjoying the beginning of Fall and gearing up for a spectacularly spooky Halloween! In my next post I’ll share a couple craft projects I did this year to add to my decor. Stay healthy and take care of yourself this October, ❤️ Petra


